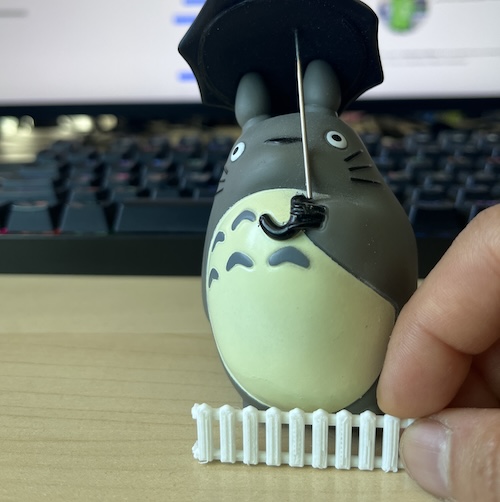
I’ve had this Totoro figure for a few years. It’s not the most solid, it lost its base a while ago and has been standing crooked since. My kid got it though so I don’t want to just chuck it.
As I was staring at it thinking about how crooked it is, I also thought it would look cool with a fence around it. And so this blog post was born (along with accompanying YouTube video)!
On the Fence
Step 1: Measuring. I grabbed the ruler and made some rough estimates on how big the fence should be. I then proceeded to print small portions of what would be the whole fence, in order to quickly print and gauge how inaccurate my measurements were, and make them… accurate.
Step 2: More prints! I made 3 version of one side of the fence, was satisfied with the 4th version, which I ended up adding all 4 sides (because I felt so darned confident!)

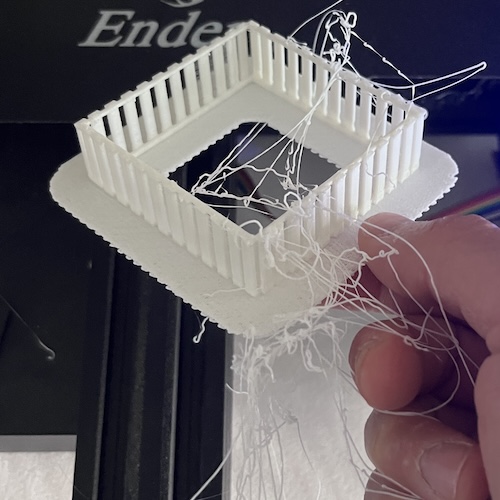
Step 3: Print. The print took roughly 5 hours, or should have, but at 80% the PLA stopped sticking to the printer bed. Luckily, enough of it had printed that it looked fence-ish and so it was ready to go!

My Crooked Totoro
So, the Totoro was crooked. I wanted it upright, but I didn’t want to spend too much time on this. So, I did the sane thing and grabbed my kid’s air dry clay, rolled a small ball, and smashed it with the Totoro figurine. It worked. Sorta.
The Conclusion
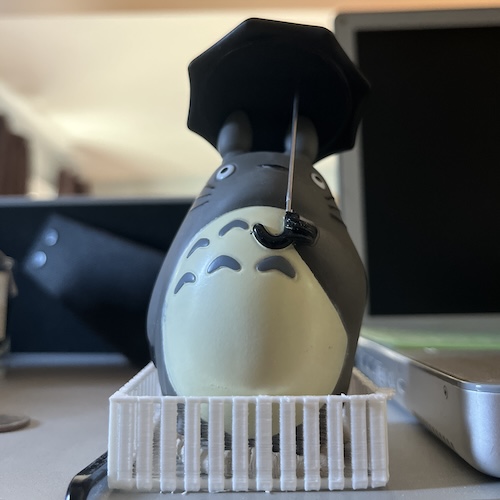
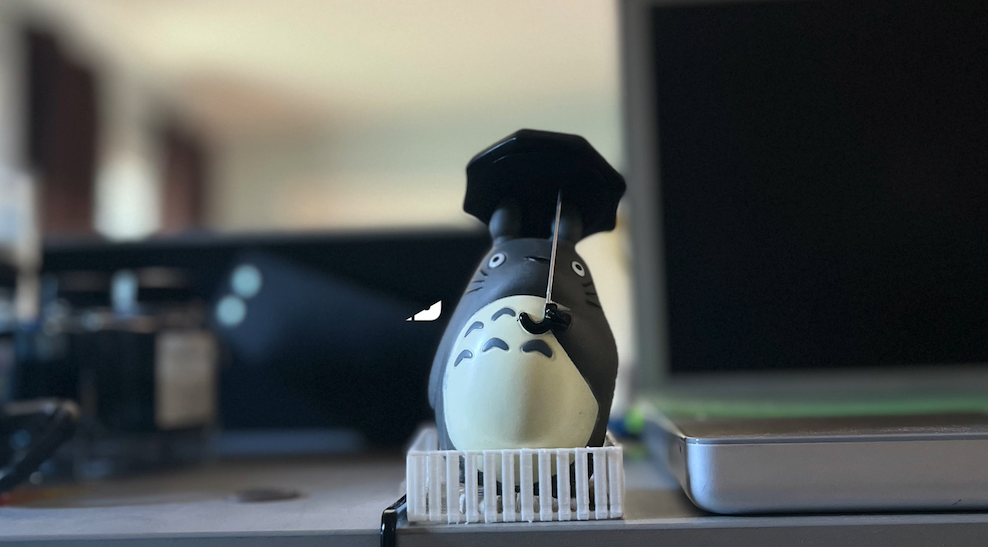
The fence looks decent enough for me, and the figurine is still a little crooked, but I feel like it won’t knock over so easy any more with the clay. So, that’s a wrap!

Things I Would Have Done Differently
On my last model, I tried doubling the height of the fence, it was probably fine with the initial height.
That clay didn’t really make it less crooked. I might put more thought into that aspect.
Maybe give it a thin base, or platform, the fence has no bottom.
Perhaps find better things to do with my time?
